
|
We photographers love our gear. We dream of camera bags brimming with the latest, priciest gadgets. The gear can run upwards of a mortgage payment, but sometimes right tools in your junk drawer. Check around your house, I bet you can fill out the gear without a trip to the store!
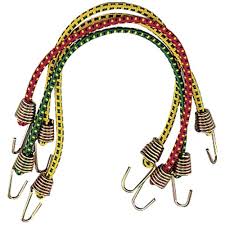
-A small mirror is an excellent reflector for outdoor shots. It can open deeply shadowed areas to create bold fill. A cheap acrylic one like you can find at a dollar store on won't shatter in the field. -Garbage bags protect gear when the mother nature decides its time to get wet. (Cut 3 holes and you got a poncho). Use them in lighting setups-white bags as reflectors; black ones is like blocking flags. -A Flashlight is a no-brainer. You need one when you're fumbling with you tiny camera controls in Twilight. Their aesthetic tools as well; create a delicate light painting with the penlight, or dramatic background pattern with broad-beamed light. Don't want to hold the light get a LED headlamp. -Ziplock bags are perfect impromptu weather housings (poke a hole and rubber band around it round your lens), and they keep dust off lenses and backup bodies in your bag. -Mini bungee lash tripod legs and fix broken camera straps. Bring lots so you can daisychain them into longer straps. -Gaffers tape will save those sessions when everything from your hiking boot soles to your focusing ring falls apart at once. -Micro screwdriver sets can help you fix your tripod head, and other small screws on your equipment as well as your eyeglasses.. -White paper cups make fantastic impromptu snoops if you cut out their bottoms, or even lined them with black tape to mount them as a backup lens shape. -A white paper plate is the poor photographers ring light. Cut a hole in it and tape it to your lenses reflector for backlit close-ups and facial portraits or tapes of foil, shiny side down, to the plate to make it extra-bouncy reflector. -A small spray bottle can make morning dew of foliage and flowers and mother nature hasn't done her job, and put a sheen on models faces and skin. -An eyedropper and glycerin give you a droplet control place drops of glycerin precisely where you want them on a pedal or twig perhaps, and the sticky globs will wait for you compose and focus.
0 Comments
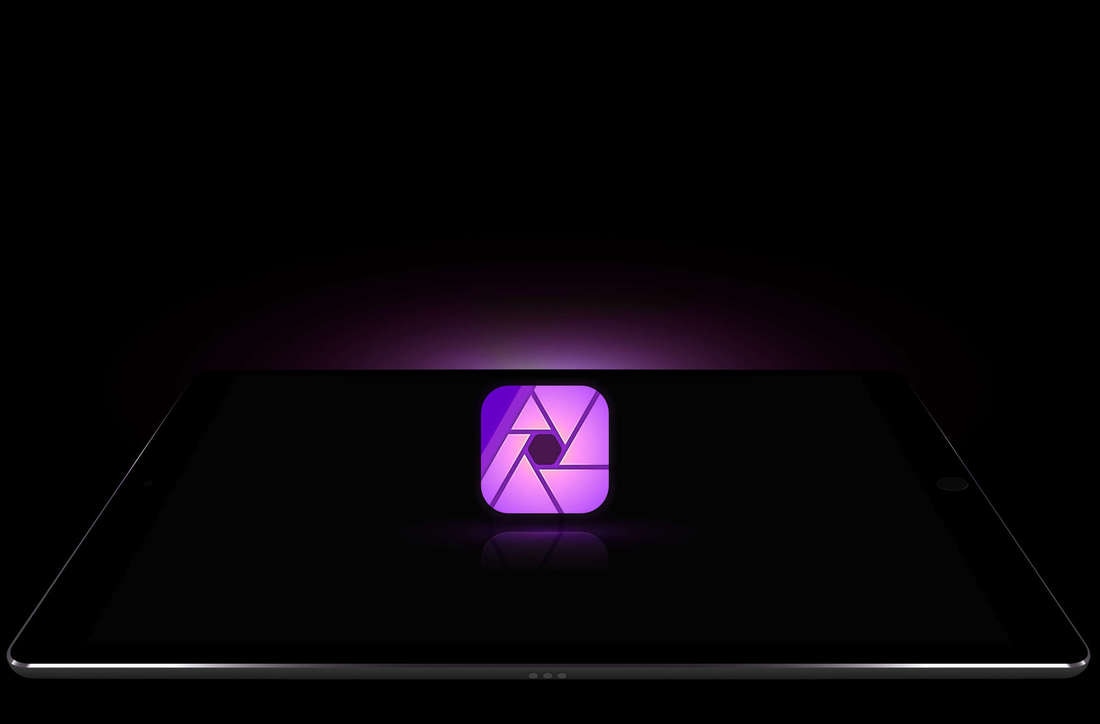 Some very cool news today! Affinity Software, makers of Affinity Photo and Design for the Mac. Have announced an Ipad version! A headline on their site, "Engineered for iOS, reimagined for touch." I'm looking forward to downloading this today on my IPad Pro and putting it through its paces! Check out their Website for more info: AFFINITY PHOTO Professional photo editing for iPad
And note, special introduction price going on down has it priced at $19.99! 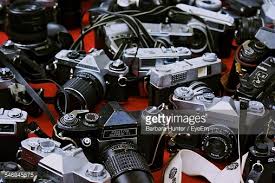 I know this weeks share might seem to have an odd heading. But I do have my reasons.
This last week, I noted that a co-worker/friend of mine posted on Instagram about being fed-up with some feedback about his choice of camera equipment from strangers while on a shoot at an unusual location. My friend has taken iPhone video capture to a high level! He has been working with local business, friends, etc. with everything from promotional bits to weddings. This last fall he was excited to share with me that he planned on purchasing a top end Sony full frame and Zeiss lens for it as well! He did this after much reseach and questioning of friends and co-workers who also shoot. What happened was while on this fun shoot he said at least five people came up to him highly dismissing his choice of his Sony full frame camera. I first have to say of any of these folks were professionals, shame on them to bad mouth anyone's options for camera equipment. But the key aspect is always the vision of the purpose of the person behind the camera! I've shot from film to digital using cameras that included Fuji, Nikon, Canon, and Sony. Also many moons ago I got some great shots with a Brownie camera! Yes, it is true certain cameras systems have feature set's that might could be geared towards a certail style of photopgraphy. But the big part is always the vision of the purpose of the person behind the camera So before you bash anyone on their camera choice. Maybe step back and think! Till next time. Happy Chicking (What ever camera you use!) Lance 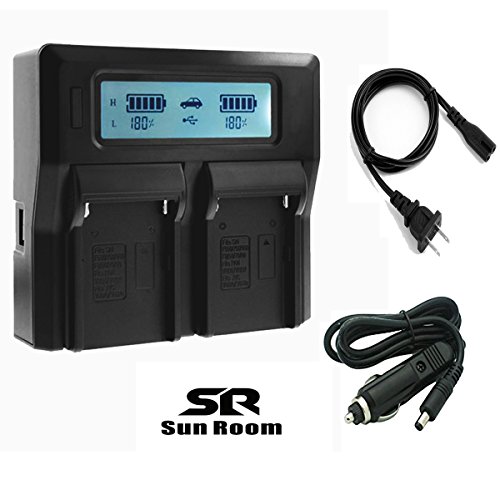 So far love it. I rarely buy any third party hardware for my Nikon cameras, but must say liked the idea of charging two batteries at the same time and having the ability to charge them in the car. This charger does both! and the charge indicator is a nice touch. So far I am very impressed and would not be hesitant to suggest this product to anyone! My reason for the purchase was my Nikon Charger dropped, and though it shows no damage, stopped working. At 50 plus they are not cheap, so getting one that charges two for less money was a win/win.
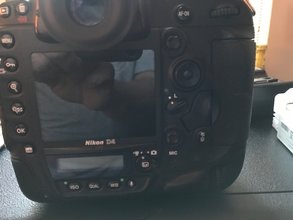
Happy Clicking Lance Welcome everyone, as promised last time we will be talking about: Live view mode, Burst mode, and Color-quality settings. First off I hope you're finding these mini recaps about your settings on your camera helpful? In that regard, I will have a very very short survey at the end. If you could take just a few minutes of your very busy day to respond it would help me allot with more information offerings to share with you. Live View: If you're coming from a compact digital camera, you use its LCD screen to compose and focus your image. There are disadvantages to this setup when compared to using the optical viewfinders of SLRs. But there are a ton of advantages too – the primary being ease of use. But more than that, an LCD delivers better feedback of user adjustments than an optical viewfinder. DSLR-live-view-2Essentially, SLRs that support the Live View function allow the photographer to use the LCD as a (bigger) viewfinder. Live View is a real boon for compact camera owners who are accustomed to using a viewing screen, but are thinking of graduating to an SLR. It’s also a great perk for SLR devotees because they can now take advantage of what has traditionally been a compact camera-only feature. Granted, composing and taking a photo using Live View isn’t quite as seamless as doing the same thing via a compact camera’s viewing screen. Indeed, the image transmission shuts down for a moment just before the shutter releases – a byproduct of SLR technology. Furthermore, the focusing isn’t quite as fast as it is through the viewfinder, and the image display isn’t quick to update. One more thing – using Live View drains the batteries much faster than using the viewfinder. Burst Mode: Also, know as continuous shooting mode, this function lets you choose the number of shots your camera will fire off with one press of the shutter button, its perfect for fast-moving photography like wildlife or sports. Color Quality Settings: Many in-camera menus offer settings from Black and White to pale pastels. To learn which one might suit a situation, go out and take a number of shots of the same subject just altering the setting.
 Example of Auto Exposure and settings. In this case from an iPhone. My friend Terry in the picture Example of Auto Exposure and settings. In this case from an iPhone. My friend Terry in the picture Hello, in our fourth part of this series we're going to continue discussing your DSLR's options. I know many equate this much like a computer. They feel you much learn everything at once! As a person who taught himself computers, please don't think of it that way. You learn the basics and then add to your knowledge as you go along. Remember learning is a lifetime endeavor. So here we go. Auto exposure modes. Your DSLR's fully automated setting is called program. In this setting, the camera's computer picks the aperture and exposure duration for you. More experienced shooters might select intelligent Auto or Auto ISO modes to control their image sensors light sensitivity ( low ISO such as 100-400 work well in bright conditions; high ISOs are best in dim ones). Note There is the adage the higher the ISO, the more noise your image will contain. That said the cameras are coming out now have excellent capabilities in low light conditions. And my thoughts have always been a little noise and get the image, or just skip it or not try; I will always go after the picture! Other modes include Aperture Priority when you require a particular aperture for the light conditions. But if your freezing action? Choose Shutter Priority. (Use this all the time to shoot aircraft with props!). And last, but not least Full Manual mode allows you complete control over exposure. Next time Scene mode, White Balance, and Auto bracketing. Till then Happy Clicking! Lance 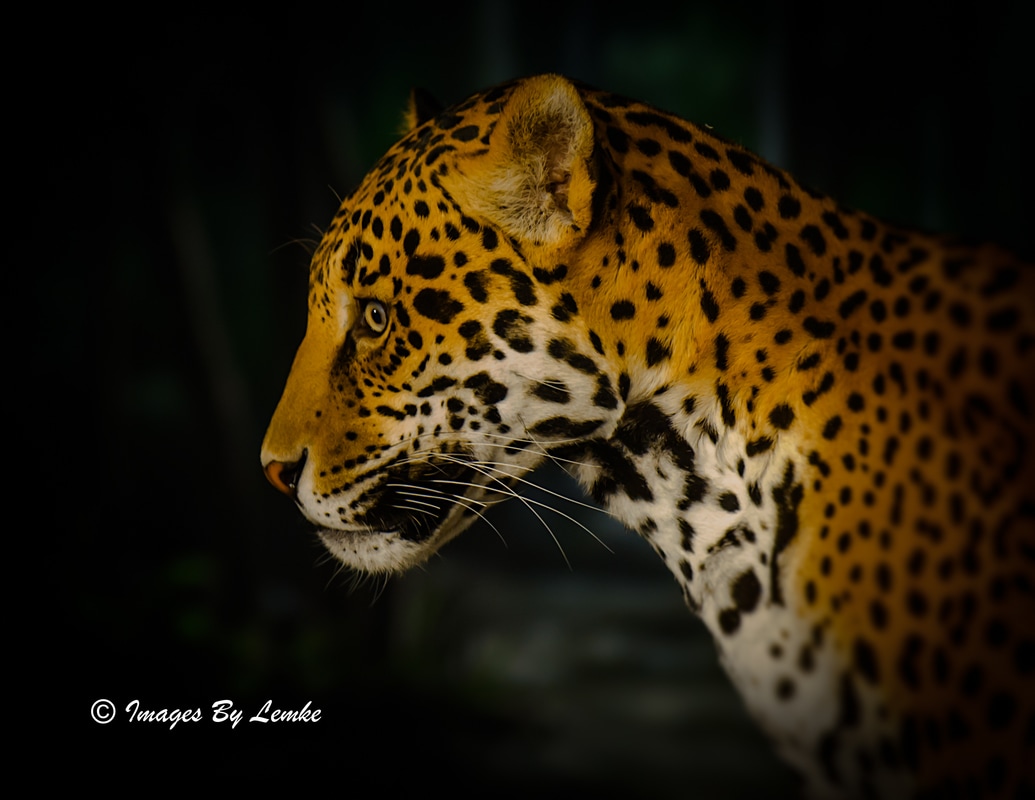 In this example we have Frankie. This capture in Aperture Priority, and also an example of shooting at high ISO in a low light condition. 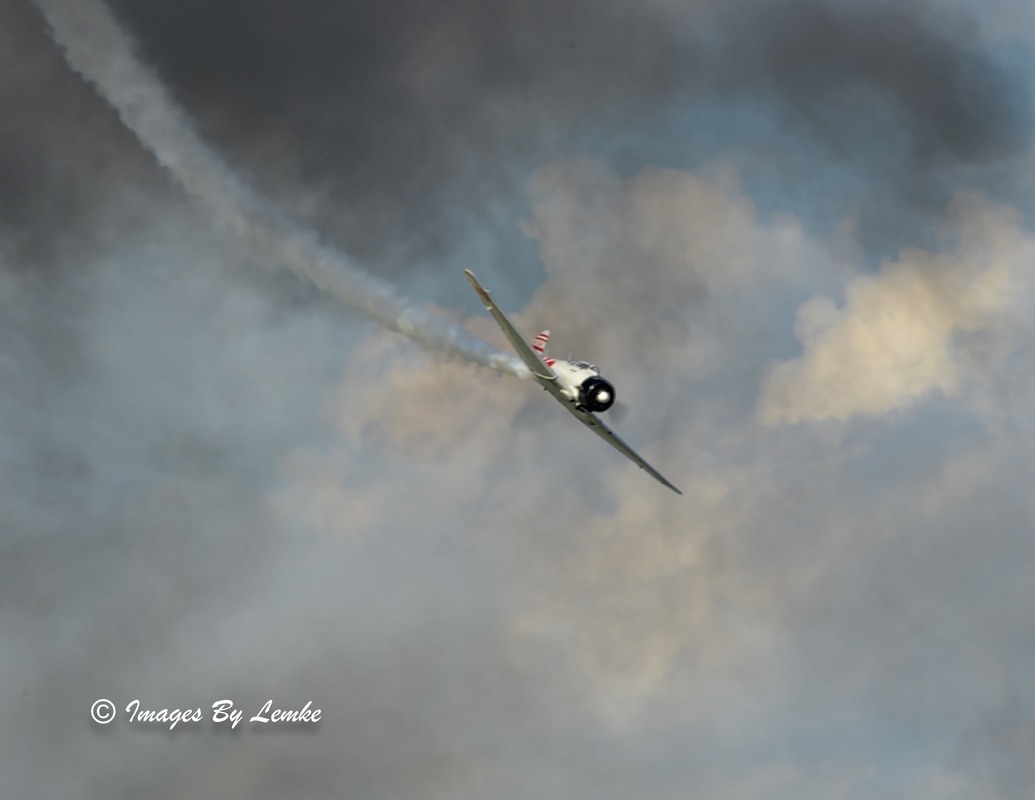 Example of Shutter Priority mode. note the prop blur on the Zero in the reenactment of Tora,Tora,Tora at EAA Air Venture Ho folks, sorry to be late this week no excuse other than busy and picked up a new printer which I will share with next time.
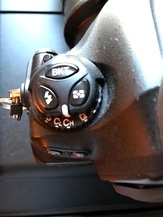
Experiment with Camera Functions Image quality and resolution controls: When you out grabbing casual snaps, you may wish to choose lower quality, higher compression settings so as not to fill your memory card. Save high quality and resolution images for artful images. Image shape controls: Modern DSLR's let you preselect photo options to match your shooting style. Autofocus Modes: These modes allow you to focus according to your needs. Single focus works optimally on still subjects. Focus modes such as continuous, enable you to track a moving subject through the frame. Both your camera viewfinder and LCD monitor can show you where the camera autofocus points are. Which in turn allows you to center you focus area. In most cameras, you can concentrate in the frame, or activate multiple points together in some situations. Note, in some situations when shooting in low light, and up close to a subject it may be better to focus manually. So next time, more modes! and talk about new printer. Till then Happy Clicking Lance Hi, everyone. Hope if you're a football fan your surviving watching your teams game this week. Last week we dove into starting steps with your new DSLR. Those included going out and shoot, Reading the manual and best ways to saw your images to your cards. So this week we're going to touch on further steps going forward. Start out in manual mode, Today's DSLR's, which are high-end computers are so smart that you can just be passive and let the camera do all the work for you. But switching to the other mode options, you see on that dial open up all sorts of possibilities you expand your creative process. Where I would start would be in manual mode, if you are stepping up from shooting with a compact camera or smartphone you most likely were not adjusting your aperture or shutter speed. Now the time to learn those aspects of your camera and photography. At first, this will seem daunting, as you'll be adjusting your settings for each shot, but keep at it. And do use the autofocus built into your camera. (Note, next time we'll talk about Aperture and Shutter Priority). Get organized! You've got a load of camera cards full of some great images you've taken, but if you don't file them on your computer correctly, this could lead to a mess down the road. I strongly suggest a file folder storage set-up. Main reason being is if you switch photo editing software down the road, it will not be a labor intensive task to move to another program! I currently use Adobe Lightroom; their are so many great programs out there now, so do your homework and see what features you want your program. Note: shortly I will have a short video training on setting up a file folder system, and also thoughts about some of the great photo software out there. Learn your camera limits When you acquire your new camera, the expectations are of course very high. Things you'll want to check is ISO-settings, or how your camera handles low light conditions. You want to take pictures in different light conditions with the different setting and see how your camera handles this. Other things would include auto-focus in low light conditions. And just how fast is your high-speed burst mode if you're looking to capture the action. Protect Your Purchase When you get home from the store or open that gift. Write down your camera serial number and put it somewhere safe. Also take 5 minutes and register online so you'll now if there is a recall or service required. Till next time, Happy Clicking! Lance     So someone special listened to you and got you that new camera outfit you'd been looking at. Where to start!
Number one congratulation! Even if this is a used body or lens, it's important to learn to use it as a tool to aid your photography endeviors. Now, put a camera card in your new gear and go our and shoot, after all, it's calling to you. One you get that over with its time to do a little learning, and remember, the learning is ongoing! What next, read the manual. Yes, it may seem boring, but remember if you have the necessary down pat you'll feel more comfortable out in the field. And believe it or not, you may find a tip or trick. Hint, some folks like to keep it with the other reading material in the bathroom, so you get to it. On to what way you should save your image files. I would strongly suggest Raw file format. As quite frankly it gives you the most out of your camera, and the files are uncompressed, and also captures maximum image data, which in the long run give you more flexibility when you go on to process your images. If you've not done any Raw file processing, it can be a more complicated than with JPEG"s. So if you new to this, you might want to consider shoot both in RAW and JPEG as to quickly share your JPEG images. Note, you will require more space on your memory cards and hard drives, but the payoff, to begin with, is worth it. Next post, how to start out shooting and why. Getting organized and learn your cameras limits! Hello all, if you were not aware of it yet, be mindful of the fact that Instagram tends to be one of the best ways to share you photographic or video content and hopefully drive more customers to your offerings on your site. And while the Instagram app is updated recently, also adding some cool new features (now also for business) it does have its limitations. So what to do!
The service I've settled on for now to help with that is called "Iconosquare." Their service offers some great enhancements to make managing your Instagram account not only a pleasure but a valuable resource of information and managing your posts in a concise way. How may you ask? Well, membership to their service offers great tools to ANALYZE, MANAGE, and ENGAGE your Instagram community. And they have developed a great IOS companion app as well. Check them out, try the free trial and see if it will work for you! Till next time Happy Clicking |
AuthorI'm a photographer who loves animal photography. Trying to capture that perfect moment is a passion of mine. Archives
October 2017
Categories
All
|


 RSS Feed
Proudly powered by Weebly