
|
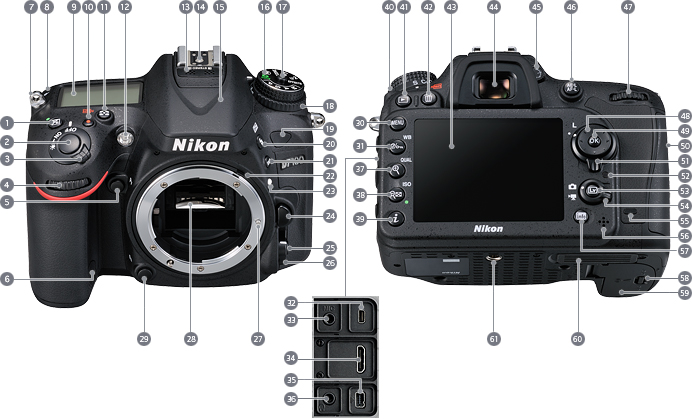
Welcome everyone, as promised last time we will be talking about: Live view mode, Burst mode, and Color-quality settings. First off I hope you're finding these mini recaps about your settings on your camera helpful? In that regard, I will have a very very short survey at the end. If you could take just a few minutes of your very busy day to respond it would help me allot with more information offerings to share with you. Live View: If you're coming from a compact digital camera, you use its LCD screen to compose and focus your image. There are disadvantages to this setup when compared to using the optical viewfinders of SLRs. But there are a ton of advantages too – the primary being ease of use. But more than that, an LCD delivers better feedback of user adjustments than an optical viewfinder. DSLR-live-view-2Essentially, SLRs that support the Live View function allow the photographer to use the LCD as a (bigger) viewfinder. Live View is a real boon for compact camera owners who are accustomed to using a viewing screen, but are thinking of graduating to an SLR. It’s also a great perk for SLR devotees because they can now take advantage of what has traditionally been a compact camera-only feature. Granted, composing and taking a photo using Live View isn’t quite as seamless as doing the same thing via a compact camera’s viewing screen. Indeed, the image transmission shuts down for a moment just before the shutter releases – a byproduct of SLR technology. Furthermore, the focusing isn’t quite as fast as it is through the viewfinder, and the image display isn’t quick to update. One more thing – using Live View drains the batteries much faster than using the viewfinder. Burst Mode: Also, know as continuous shooting mode, this function lets you choose the number of shots your camera will fire off with one press of the shutter button, its perfect for fast-moving photography like wildlife or sports. Color Quality Settings: Many in-camera menus offer settings from Black and White to pale pastels. To learn which one might suit a situation, go out and take a number of shots of the same subject just altering the setting.
0 Comments
 Well as I mentioned last we talked. Today we're going to talk about Scene mode, White Balance, and Auto Bracketing.
1. Scene mode: This setting on your camera includes many settings for specific subjects. Portrait mode instructs the camera to use a short exposure but switches off the flash, or for example; in foliage mode the color saturation is amped up and sets a small aperture. 2. White balance: Choosing Auto White Balance lets the DSLR define how white areas will appear in specific lighting conditions, and corrects the other colors accordingly. But you should alway consider setting White Balance manually when shooting in mixed light conditions. 3. Autobracketing: When you're unsure what exposure will work best, employ the auto bracketing function to fire off serval quick shots at varying exposures with a single shutter press. Next time, Live view mode, Burst mode and Color-quality settings. Till then, Happy Clicking. Lance Hi all, I normally would not ask this. But a Gofundme page has been setup for my best friend brother who was just diagnosed with Multiple Myeloma, a blood cancer. If you feel inclined I know any donations would be welcome. Thank you for your time!
https://www.gofundme.com/brians-medical-bills |
AuthorI'm a photographer who loves animal photography. Trying to capture that perfect moment is a passion of mine. Archives
October 2017
Categories
All
|
 RSS Feed
Proudly powered by Weebly